


Hey there! It’s Kira and I am back today with another scrapbook layout using some of my favorite Cardstock Warehouse papers.
Supplies:
- Cardstock Warehouse Cardstock Papers
- Colorplan Natural
- Sirio Color Gialloro
- Pop-Tone Orange Fizz
- Pop-Tone Grapesicle
- Foundations Nightshift Blue
- Adhesive
- Embellishments
When starting a layout, I almost always start with a color scheme first. This month, I was totally inspired by a new purse I just bought myself. I knew I could find coordinating colors in my Cardstock Warehouse collection of papers and just built my layout from there!

I had been mulling over the idea of a woven background for awhile, but the task seemed pretty daunting. I am here to tell you that this is not as complicated as it looks and didn’t take me much longer than other techniques I have tried, so I really hope you give this a try too!
I started by cutting all of my papers down to 1/8” strips (but you should definitely play with size to find what you like best, even mixing different sizes can give you a fun result!).

Once all of your papers are cut, you’ll want to figure out your pattern. I wanted mine to look like a woven plaid, so I stuck to a specific pattern. If you want something less structured, then don’t feel like you need to stick to a plan, just go for it! Once you have your pattern planned out (or not, you do you!) you’ll want to adhere one edge of the papers to a piece of scrap card stock. Tip: I have done this paper weaving twice: once with the edges adhered and once without, and keeping everything adhered cut the time it took in half!

If you want to go with the woven plaid look that I did, the colors you weave in should follow the same pattern as the strips you have adhered to the scrap paper. So if you did 4 strips of Natural followed by 2 strips of Nightshift, you should then weave in 4 strips of Natural followed by 2 strips of Nightshift.

The weaving technique isn’t anything fancy, just over, under, over, under, etc. until you reach the last paper strip. Then use your fingers to slide the paper as far up as you can to get a nice, tight weave.

After your weaving is complete, either peel the scrap paper away from your edges, or trim it off.

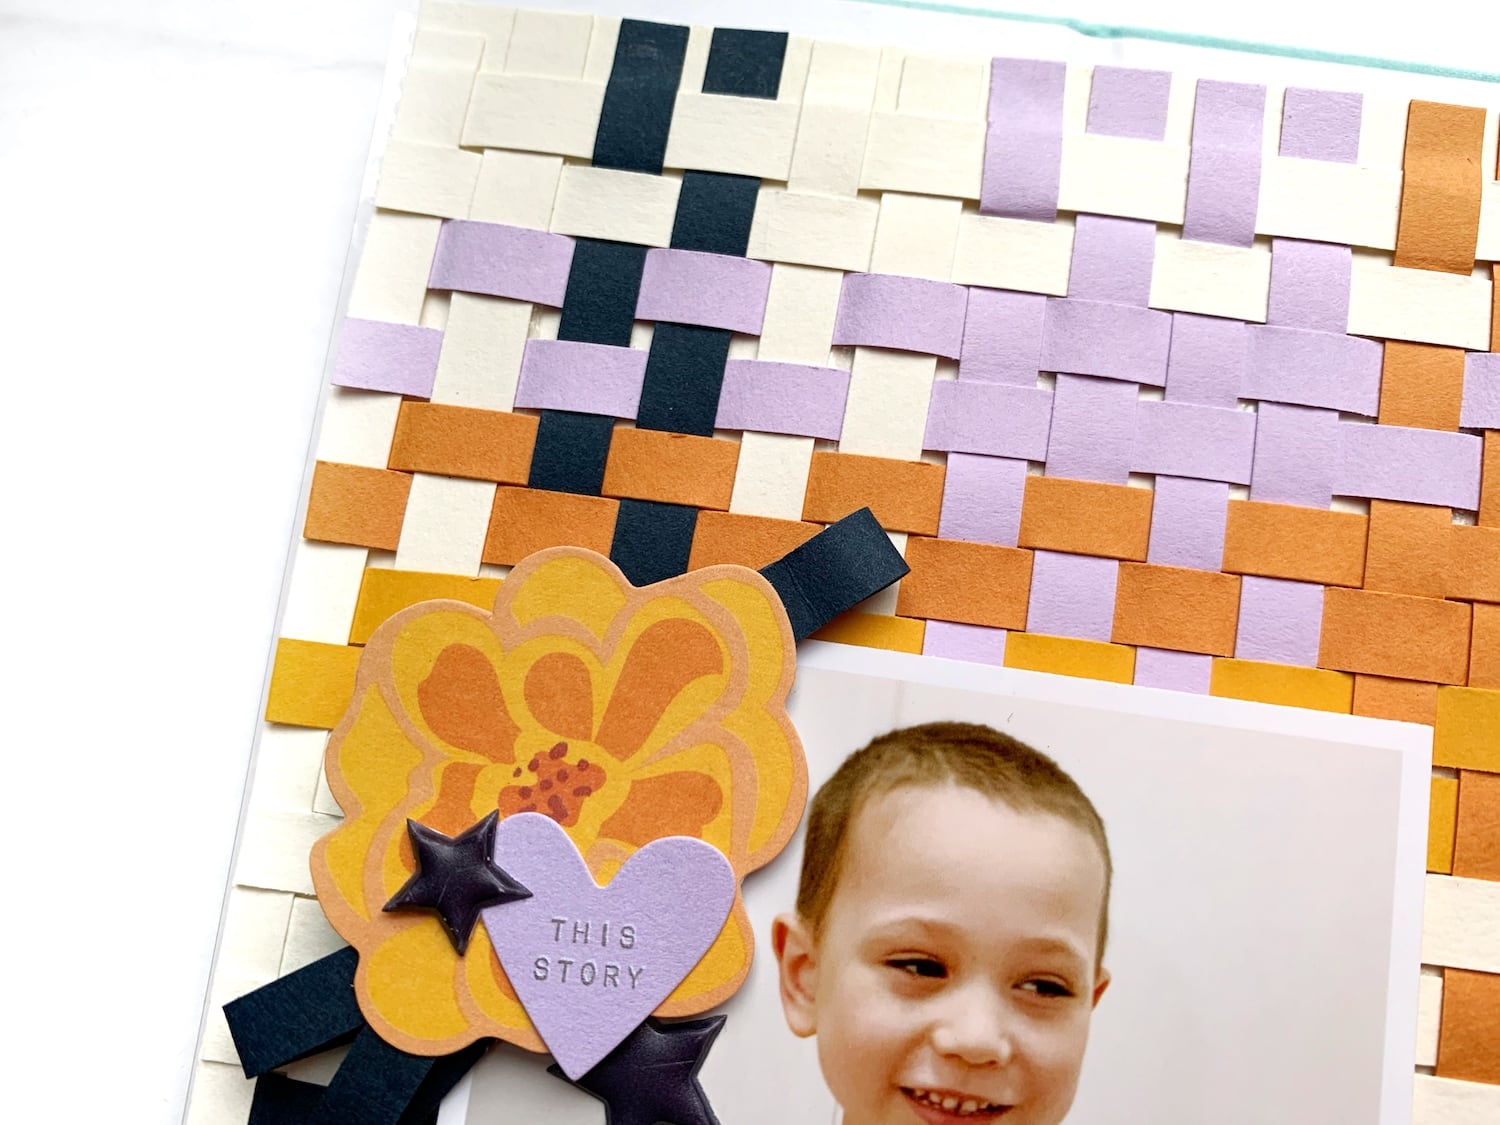
The finished product is practically a work of art in itself, I wouldn’t blame you if you wanted to frame it at this point! I decided to use mine as a background to a scrapbook layout about my son.

Since I didn’t want to cover too much of the background, I kept my layout simple by adding a single embellishment cluster to the upper corner of the picture.
On the reverse page, I cut some Natural card stock down to 4.25” x 8.25” and typed up my journaling.

I added a title and a couple embellishment clusters to tie in the colors. I wanted my flower embellishments to have blue leaves, but didn’t have any in my stash, so I took some leftover Nightshift strips and folded them to give the look of leaves!

I love how it looks so much that you will probably see this technique again and again on my layouts.

Thank you so much for stopping by! I hope you guys enjoyed this project and I can’t wait to see all of your woven creations!
Follow us on Instagram and Facebook for more paper goodness, and tag us in your creations using #cardstockwarehouse to be featured on our Insta!
You can also find more inspiration from me on my Instagram!
Kira
Instagram: @kira.gets.crafty
YouTube: Create. Craft. Repeat.