


Hello friends, welcome back! It is Neftali here today to share one final post for the year 2020. I wanted to end my first year as a Design Team member here at Cardstock Warehouse with a super fun project that also ends the year with some crafty fun. Today I will be sharing with you how to create a full DIY New Year’s Eve photo booth station using a fun mix of glitter, metallic, and shimmer papers. Are you ready to give your craftiest goodbye to 2020? If your answer is yes, then continue reading.

Let me tell you, this project is a lot of fun to make. Let’s get started! First, let’s gather our supplies.
Supply List:
- Cardstock Warehouse Cardstock Papers
- Silver Mirror from Mirror Collection
- Silver Sparkle from MirriSparkle Glitter Collection
- Onyx from Stardream Collection
- Dowels
- Glue Gun
- Silhouette Machine + Silhouette Studio Cut Files
- Scoring Board
- Bone Folder
- Sewing Machine
So this is a multi-step process and I have listed it all below, including a two-part process video at the end of this blog post:

To start, we want to choose some cut files for our photo booth props. I like to download mine from the Silhouette Design Store because I am working with my Silhouette. However, you can find many of these cut files on the Cricut studio and on Etsy, as well. I easily found some great options in the design studio and I took my time cutting up all the pieces in the three paper selections I mentioned above.

Once all of my prop cuts were ready, I used my glue gun to piece them all together.
I attached my dowels securely by using a small 1”x2” strip of paper, wrapped around the down, and I stuck that to the back of each prop piece. This extra piece of paper really helped hold the dowel on the cut prop.

Here are the finished props, ready for some picture taking:

STEP 2
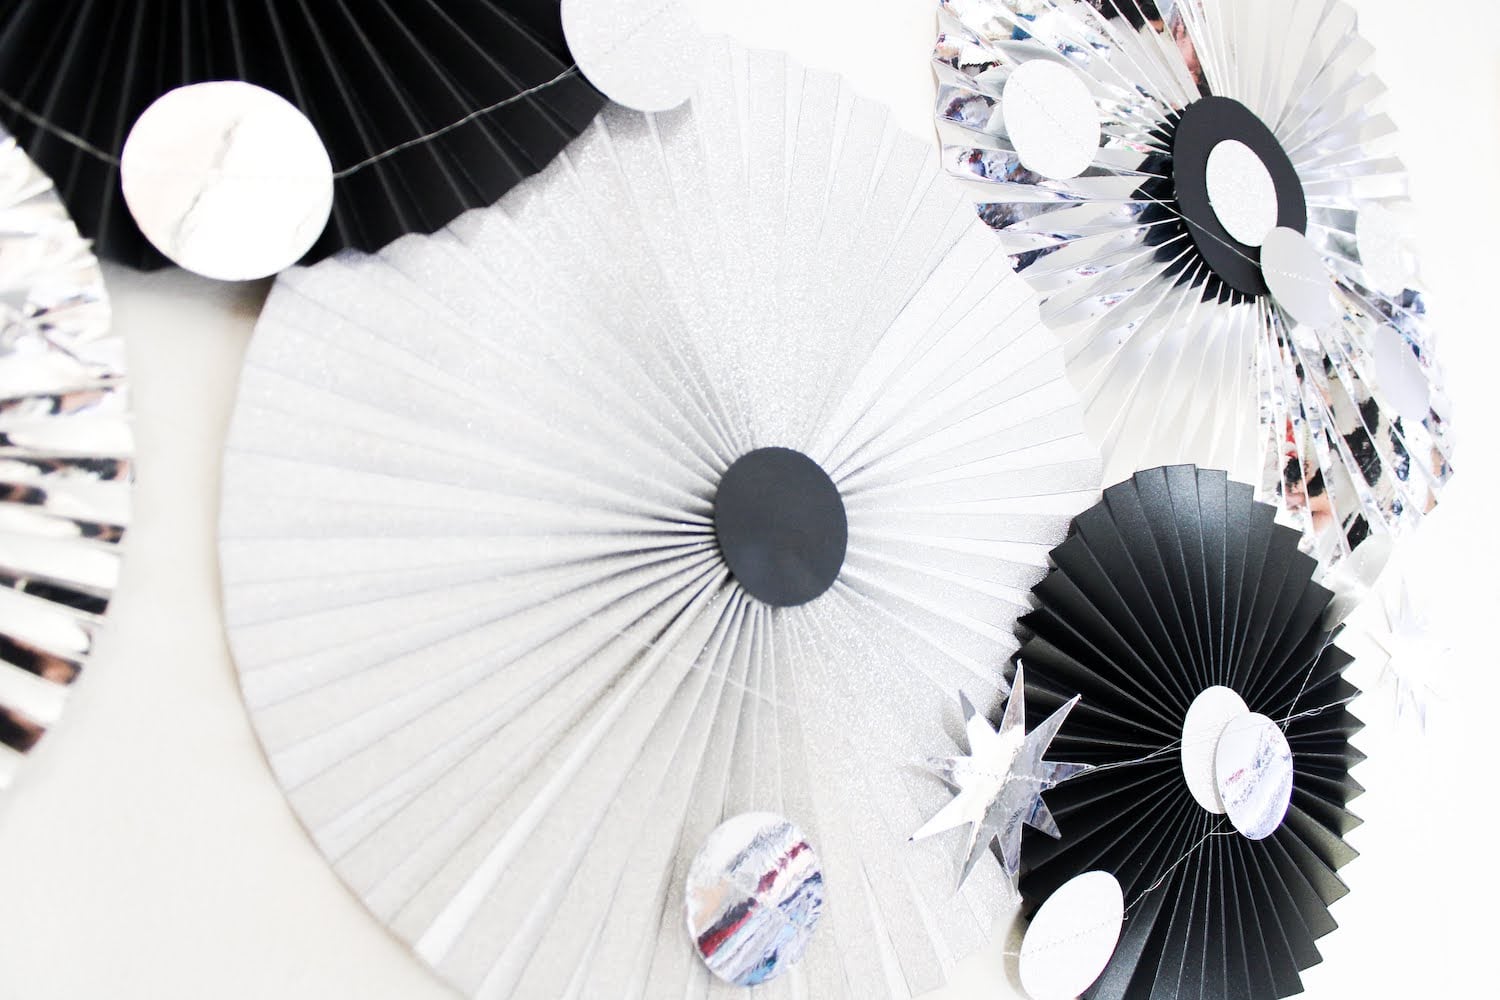
Now it’s time to make the multi-sized medallions for your backdrop. I created them in the different sizes by cutting my 8 1/2x11 sheets in half, both vertically and horizontally. This gave me the different sizes you see below.

To create them I used my score tool and scored them at each ½ inch. I used my bone folder to help me fold up the creases, and I used a glue gun to attach each pieces together. Finally, just a punched circle in the center to hold the rosette closed in the center. You can learn and watch a full tutorial on how I made the rosettes on a previous post I shared on the Cardstock Warehouse Blog here.

Also, you should note that you will need at least six half pieces of paper to make them large enough to wrap around and attach to themselves. This is what helps make them nice and big! We like big!
I used some of the paper scraps to punch out some circles, and I cut out some stars. I ran these through my sewing machine to create a fun pennant to add more fun and layers to my photo booth backdrop. If you don’t have a sewing machine, you can just use ribbon or string and your glue gun to make the pennants.
Finally, it is time to assemble my backdrop. I attached my rosettes to my wall using some double sided foam sticks. I used the same foam adhesive to attach my circle and star pennants.
STEP 3
Photoshoot time! Have some fun with the props as you take your photos. I recommend a set up that includes your phone or camera on a timer.

You can find me having some fun in the photos below. You can also include other props like party hats or a crown.

I designed my own crown which you can download below. I am giving the file away that all of my Silhouette and Cricut machine friends can use. You just need two hair pins to hold, and you’ll be ready to ring in the new year!
Sihouette File: click here
Cricut File: click here
Thanks so much for coming by today crafty friends. This was my first year working with Cardstock Warehouse and it has been an honor to come here every month and share some fun creative ideas. I hope that your year has been filled with some crafting and paper loving fun, despite the crazy year we all had.
If you make anything using our Cardstock Warehouse papers, please feel free to tag us and don’t forget to follow us on social media! You can find us on Instagram, Facebook, YouTube and also Twitter. You can also find me on social media in the links below. Have a very Happy New Year, friends! May 2021 be good to us all.
Neftali