


Hi everyone! Today I’m going to share one of my favorite scrapbooking hacks with you. I love to spend time making layouts that look perfect. But sometimes you don’t have hours to spend. Using multiple cut files can make it look like you spent hours on something that only took about 20 minutes.
Supplies Needed:
- Electronic die cutting machine
- Digital cut files
- Liquid adhesive
Cardstock Warehouse Cardstock Papers
- Pink Sapphire Mirrisparkle
- Berrylicious Pop-Tone
- Pure White Foundations
- Bianco Parchment
- Sweet Tooth Pop-Tone
Optional:
- Embellishments
- Title piece or alphas
- Sequins

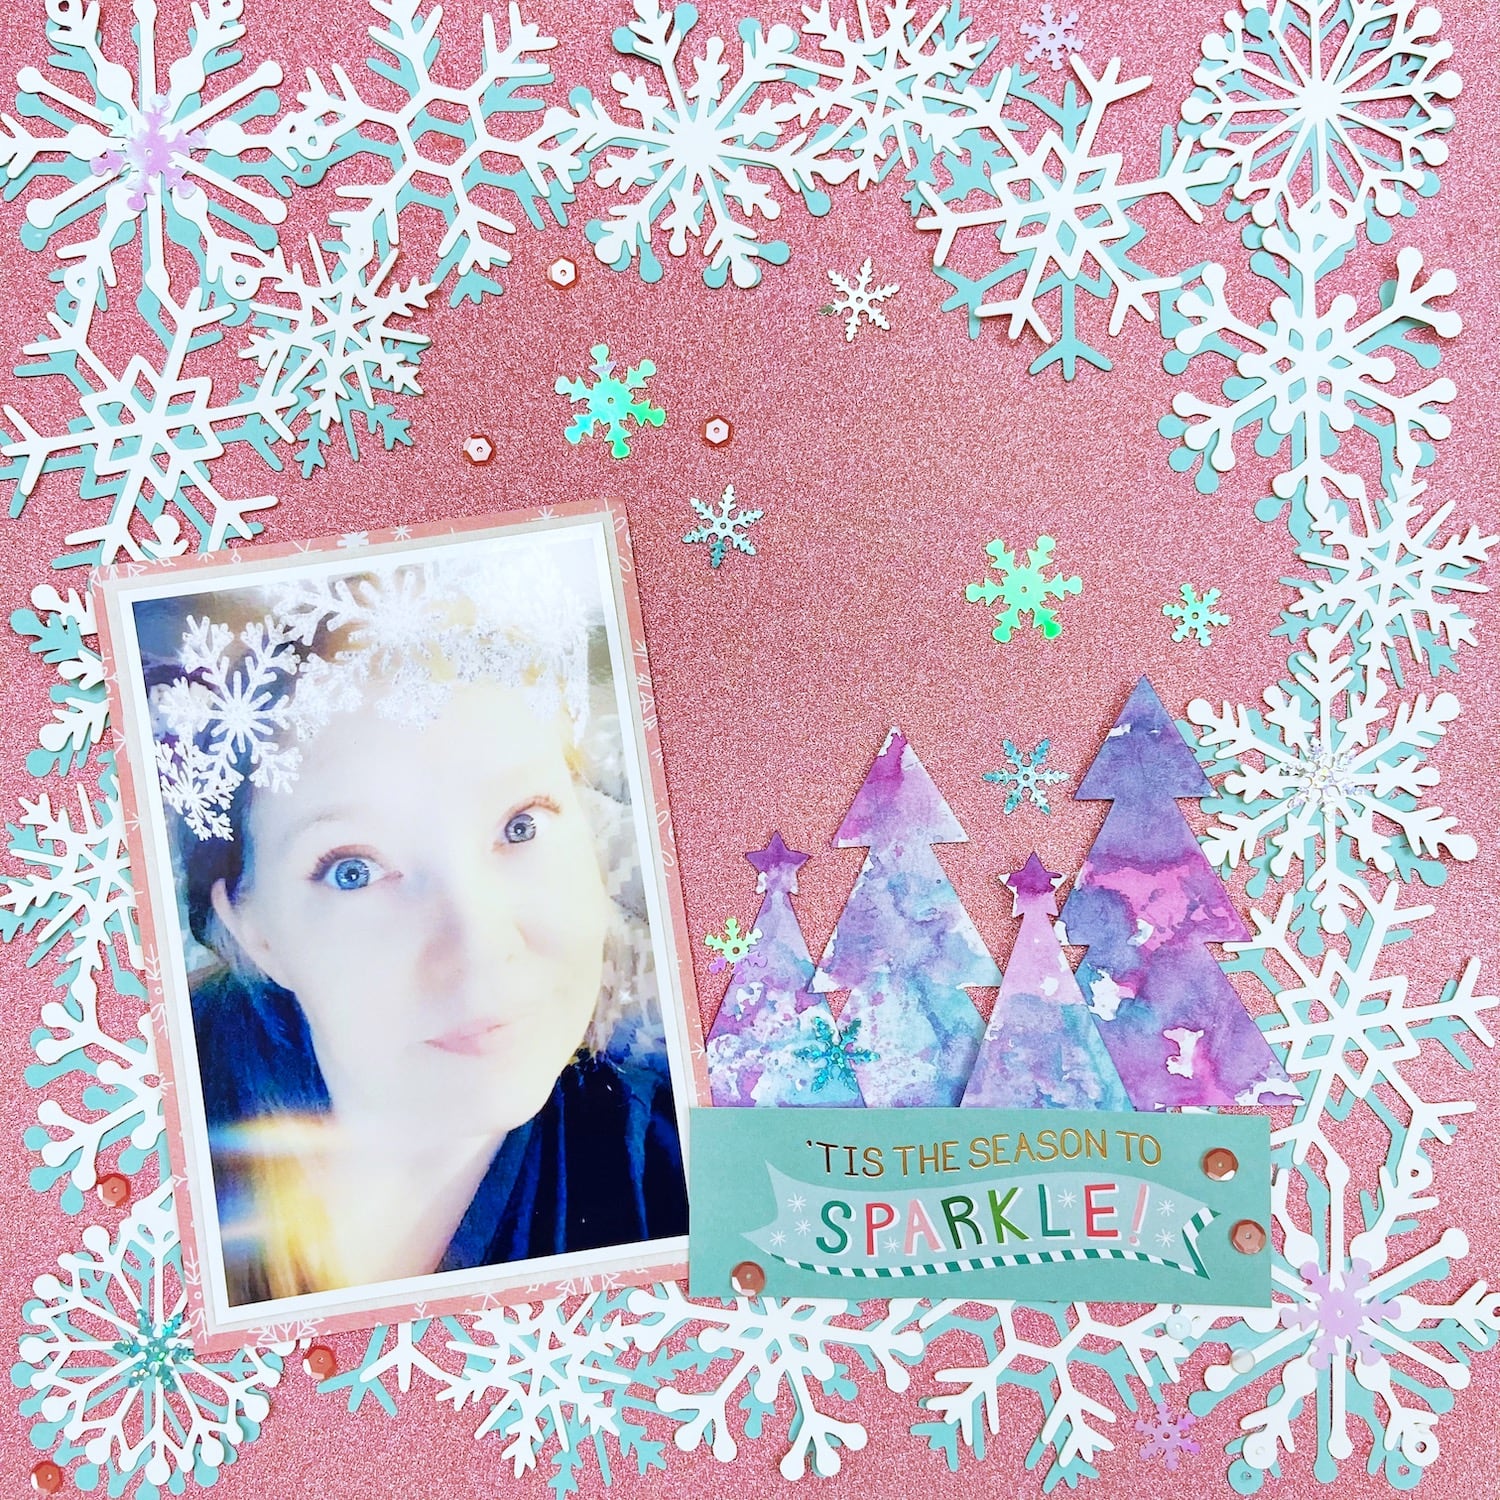
I started by choosing my color palette. I wanted to use a non-traditional holiday color scheme so I chose pink and blue. I chose the gorgeous Pink Sapphire glitter cardstock as my base. It is so sparkly and shiny that I didn’t want to cut it up. Then I selected the Berrylicious Pop-Tone cardstock to compliment the pink. I chose to add the Pure White cardstock as a neutral.

Next I selected my cut file. I chose a snowflake border one from COAPA Cut Files that looks delicate and intricate. I find that borders and even wreaths make for great layering files. I cut the file on my Silhoutte Cameo twice, once out of the Pure White and once out of Berrylicious. I prefer to use 80 or 100 lb cardstock for cut files. This time both were 100 lb. For both 80 and 100lb I use these settings: auto-blade set to a cut setting of 7 (could use a ratchet blade set to 7), Force of 33, speed of 3 or 4 (depends on the cut file, I used 4 on this one), Passes 2, and I use the line segment overcut setting to help release the cut file.

Once I had my cut files it was a simple matter of layering them up. I adhered the Berrylicious border first then added the Pure White on top. I chose to offset to create a shadow effect. Then I added my photo which I backed with Bianco Parchment paper.

I selected some homemade embellishments that I created previously with Sweet Tooth cardstock, a christmas tree cut file, and mists. I layered them up with my title piece which was a cut apart from a pattern paper. I finished the layout off with some SpiegelMom Scraps sequins. All told the layout took 20 minutes. The cut files did add a little time to this but I set them to cut while I was doing some laundry so I’m not counting that as part of my time.
I created a video for this layout if you are interested in seeing the process step-by-step.
What are you scrapbooking right now? Follow Cardstock Warehouse on Instagram or Facebook for more fun paper projects, and tag #cardstockwarehouse on social media when you use our paper for a chance to be featured on our page!
Thanks for visiting! Have a crafty day!
Daisie
Instagram: @daisiescraps
YouTube: Daisie Scraps