


Hi there! Ivy here from @ivypinkmade. My favorite season is here, Halloween!!!
My favorite area to decorate in my home is our mantel and today I’m going to show you how to make some cute simple banners to decorate with.
Supplies:
- Cardstock Warehouse Cardstock Papers
- White Diamond Print Glitter
- Black Mirrisparkle
- Sweet tooth
- Bubblegum
- Cotton Candy
- Orange Fizz
- Black Licorice
- Hot Glue Gun
- Thread
- Scissors
- Electronic Die Cutting Machine
Let’s get started!
Today we are going to make 3 simple banners.
First thing I usually do is lay out my images in Design Space. I used a Cricut Maker to cut out all the designs for this banner.
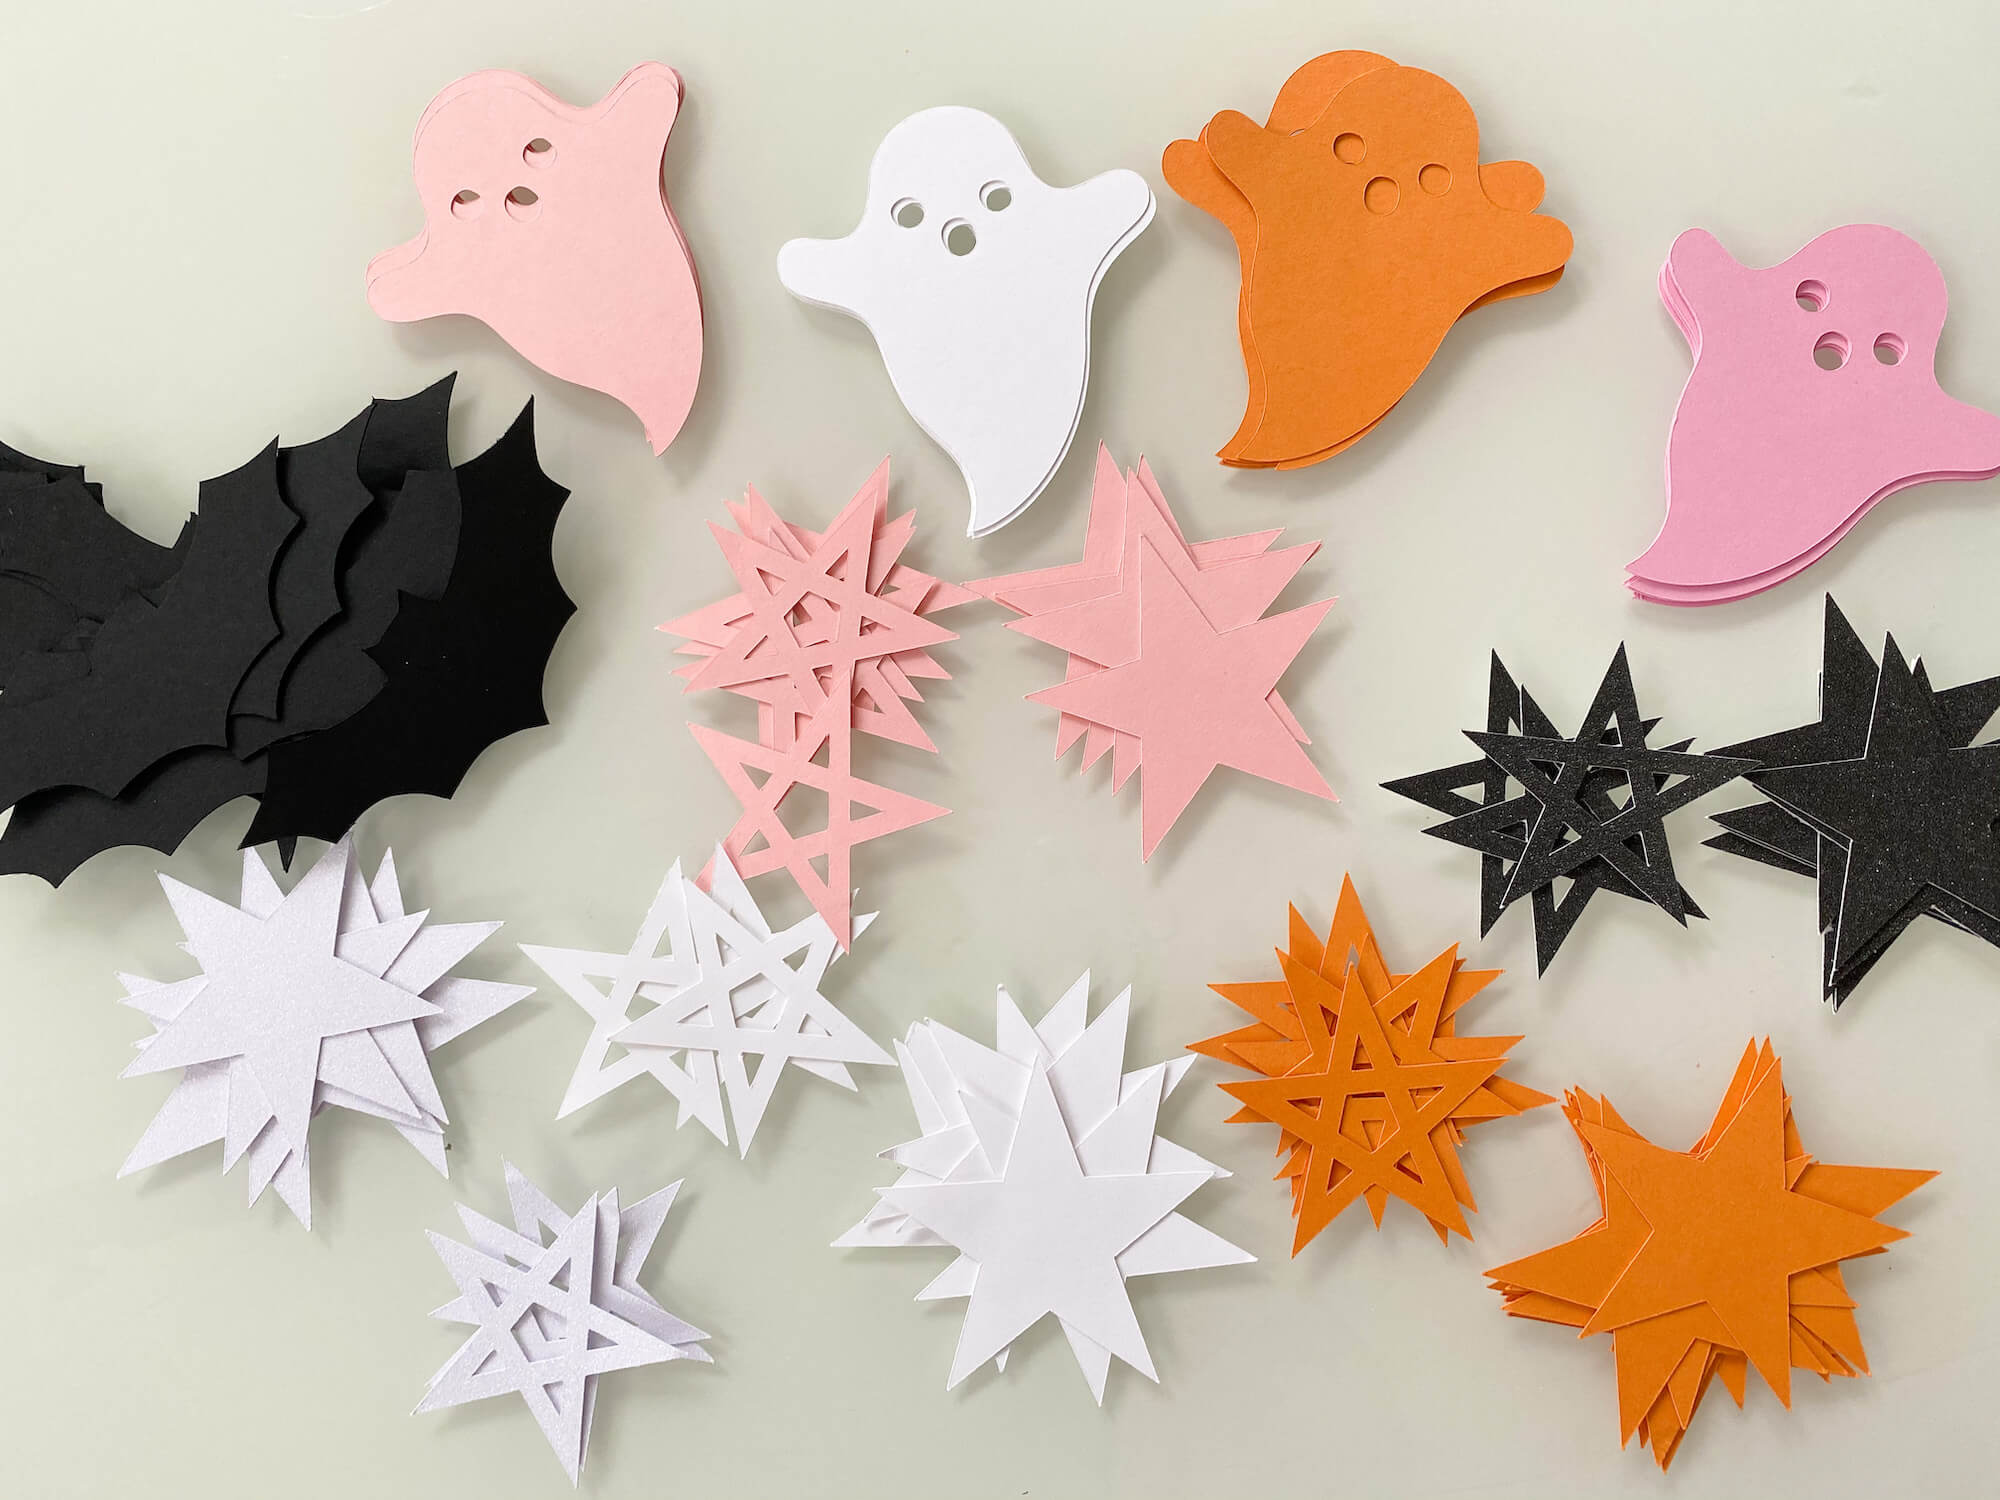
This is the star image I uploaded. The bats are Design Space image number #M7D0F7C3.
The ghost file is from Etsy.
I am using 8.5 x 11 cardstock, so to maximize the amount I can fit on the paper I usually size my images to fit an 8.5 x 11 as best as I can. Once I have them fit to size I will “attach” the image together and send it to cut. Here is how my laid out sheets look like. When I have a full sheet design and I am cutting multiple colors I find it easier to just cut a full sheet of each color that you need.

Once I have all the pieces cut out it’s time to put it together.
A little trick I like to do, because I don’t like how small banners look like with holes punched out, is use a thin sewing thread or fishing wire. You could also use twine.
In this case I'm using a sewing thread. I turn my die cut piece over, place the thread over the image where I want it to stick, then I take the glue gun and drop a tiny bit of glue to keep the thread in place.

Now if I was making this for a customer or placing the banner somewhere where you can see the back side, I would definitely cover the back. But since I am just making this for personal use and it’s going up on the mantel where you can’t see the back I'm just going to leave it.
As for the ghosts face, to make it easier instead of adhering tiny eyes and a mouth to each of them, I used the “slice” function in design space to slice the ghost face. I cut up the extra black mirricard scraps and covered the face from the back side instead.

Now that the banners are complete, here is what it looks like all together.
I also added a felt ball garland and scattered some spiders to make it look more full.
Such a cute inexpensive craft project to decorate with for Halloween.


Thank you for stopping by today and I hope you enjoyed this project.
If you make any crafty projects using Cardstock Warehouse papers please share it with us, we would love to see your creations. Be sure to follow us on Instagram, Facebook and Twitter.
Happy Halloween Crafting!
Ivy
IG: ivypinkmade
PS- Looking for more Halloween inspiration? View all of our Halloween blogs HERE!
1 comment
Love the pink ghosts so unique