


Hello crafty friends! Kayla here with a DIY project for Father’s Day.
I have three little boys under the age of 5 (crazy right?!) but I’m so thankful for the few special men in their lives that they look up to, ESPECIALLY their daddy! So I thought this would be a special gift that he would always treasure.
Let’s begin!
SUPPLIES:
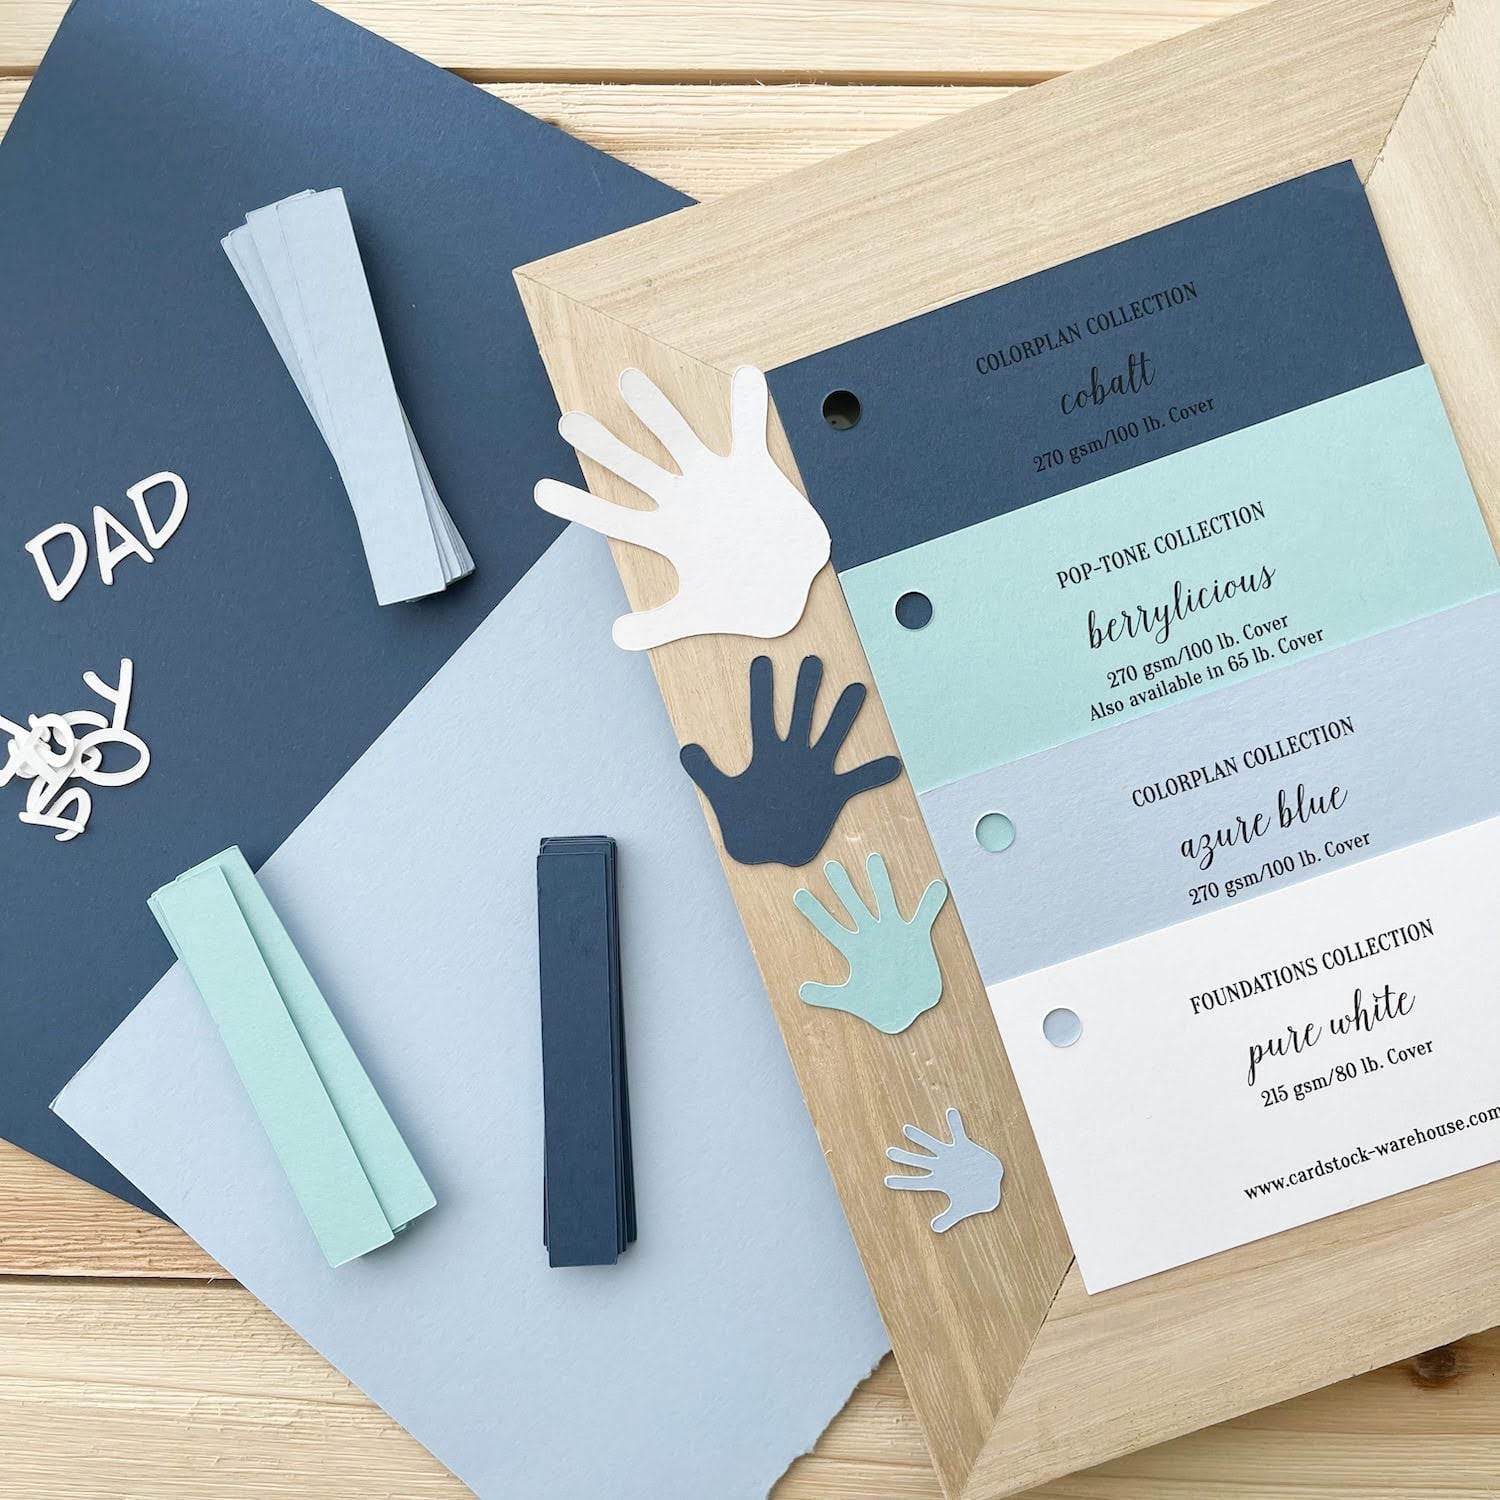
- Cardstock Warehouse Cardstock Papers
- Azure Blue
- Berrylicious
- Cobalt
- Pure White
- 4” x 6” wooden frame (7” x 9” with border)
- Glue gun
- Twine or ribbon
- Cutting machine (but you can use a paper cutter & die cuts)
- Crafter’s Tape
- ZIG 2-Way Glue Pen

To start, open up your electronic die cutting machine software.
*For reference on how large I wanted my design, I added a square and then changed the dimensions to the size of the frame I am using. This is completely optional, but definitely gives a good visual when adding images.*
Then, I added 3 more squares and changed the size to 0.5” W x 3” H each and made each strip a different shade of blue.
Now, add any text you would like. I added “Dad and his boys” using a free font I downloaded from the internet. Examples of other phrases could be #1 Dad, Dad, Happy Father’s Day, ect.
Lastly, before I begin cutting, I added 4 handprints, all different sizes, ranging from large to small (these resemble my husband and the boys).

Now, let’s begin cutting. I copy/pasted the paper strips until I had a bunch of them, used the 3 different shades of blue for the strips of paper as well as the handprints, and then the color Pure White for the letters and largest hand.
Once the images are cut, it is time to assemble. Before assembling, I took the frame and traced around it (this will be the part I glue my strips to and then adhere that onto the frame, it’s easier that way!)

Using my crafters tape, I’m going to adhere each strip of paper onto the paper frame in a diagonal direction going from lightest blue to darkest. Then I used a paper cutter and a craft knife to cut off the excess strips.

Once you have your paper frame trimmed, glue it to the front of your wooden frame with hot glue.

Now that the frame is completed, turn the frame over and using the hot glue gun, add the twine to the top of the frame at each corner. This way it can hang on a wall.

Now, layer the handprints onto each other (largest handprint on the bottom) and then using your glue gun, place it into the middle of the twine.

Add the phrase onto the bottom of the frame using ZIG 2-Way Pen.

Last step, add a special picture and you’re done! Super easy Father’s Day gift that I guarantee he will treasure!

Thanks for hanging out and I can’t wait to see what you create for Father's Day! Share them with us on our Instagram or Facebook page, and use #cardstockwarehouse for a chance to be featured on our page!
Thank you for following along!
Kayla